Introduction
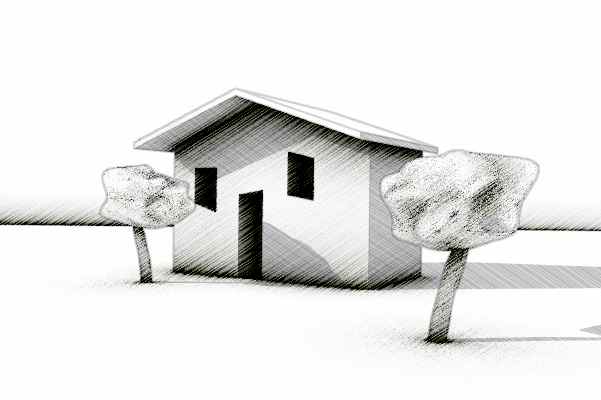
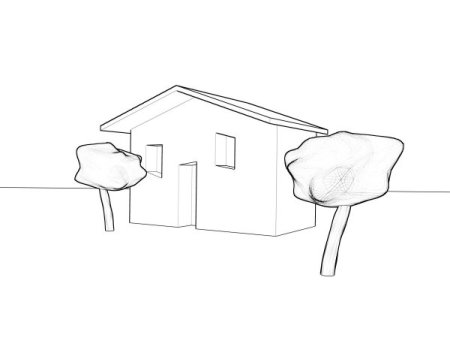
In this tutorial, we are going to make a black and white sketch style with shadows rendering without changing the materials of the scene. This type of rendering is easy to do without the nodes changing the materials. But I needed to do a realistic rendering and a sketch style rendering from the same scene. To be clear, we are going to make the second image below from the first:
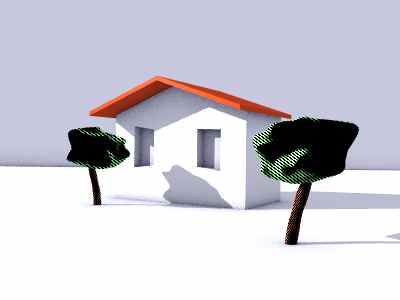
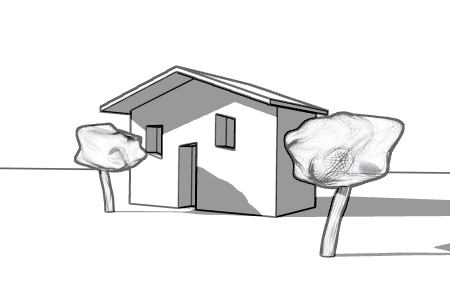
This tutorial needs Blender 2.43. We are not going to see very basic things, so you need at least some basic blender knowledge to make it.
You can find the complete scene here. But I advise to make it from scratch (you will need an object, a lamp casting shadows and a camera at least), or you can use this .blend with my simple scene without the nodes.
Step 1 : the render layer for the edges
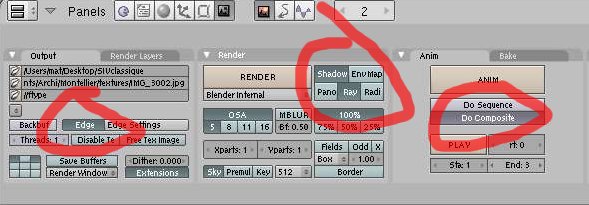
To see the edges in the rendering, you need to activate Edge in the render panel. We can check too that Ray and Shadow are activated, as well as Do Composite (for the rendering to use nodes).
Go now in the Render Layers panel, and you should have something like that:
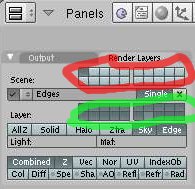
In red, you have the scene active layers (the ones you can see in the 3D windows).
Below, you have the menu to choose or add a new render layer. I renamed the default one Edges (guess why) . The button single allows you to render only this render layer if you have more than one.
Below (in green) you have another set of checkboxes to choose which layers will be rendered in this render layer.
Below you can activate what you want to be rendered in this render layer. We just want the edges but I added the sky just to have a white background.
In this tutorial we will not see the use of Light and Mat settings. And the last set of buttons will be discussed later in the tutorial.
Step 2 : First nodes
Open a Node Editor window and check the Composite Node (the small face) We will need the three very basic nodes for a beginning. I will not explain here the basic usage of nodes, if you want to know more, you should find some other tutorials easily.
Spacebar, Add, Input, Render Layers: if this is your first node, congrats ! In this node (marked as 1 in the screenshot below) you can choose what render layer we will use.
Spacebar, Add, Output, Composite: This one (marked as 2) is the one of the final render.
Spacebar, Add, Output, Viewer:This one (3) allow you to see any part of your node system in a UV/image editor window. If you activate Backdrop, you will see the active viewer as a backdrop of the node editor window.
Of course you need to link the “exit” dot of the render layer node to the “entrance” dot of the viewer and composite node. After hiting F12 you should have something like that:
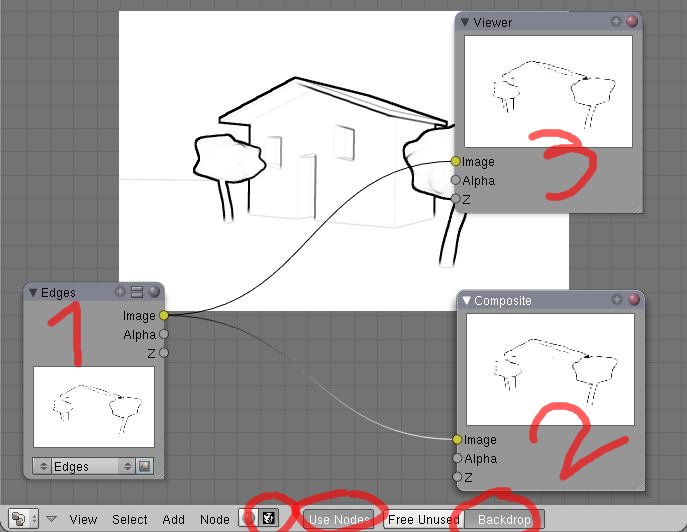
For the moment, nothing very usefull, be patient, it’s coming.
Step 3 : Adjust Edges settings
Lets forget about nodes for a while. If you know the edge settings, you can jump to Step 4.
In the Output panel, with Edge Settings you can change the color and darkness (Eint) for the edges.First image below has Eint set to 11, the second to 255:
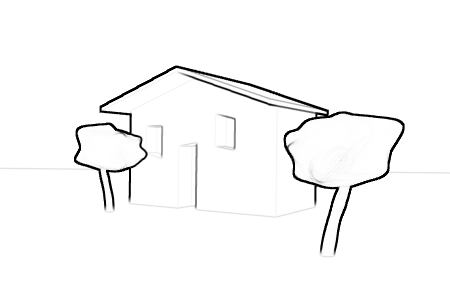
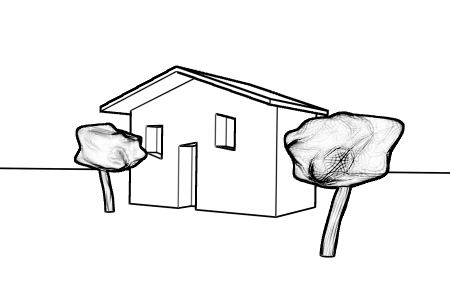
With high poly mesh, it is not so easy to have nice results (like the trees here), so you have to adjust the settings and eventualy move some objects on an other layer 😀
One way to soften the edges is for example, for a 400*300 image, to render it at 800*600 and then reduce it with the Gimp, like below (Eint at 255):
Step 4 : the shadows
Lets make a second render layer “shadows” with the following settings:
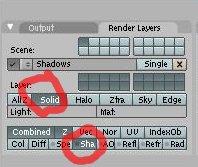
We need to make ADD NEW, choose the name, check Solid (to have shadows) but nothing else. We need to check Sha too, so that the shadows are rendered in a separate pass.
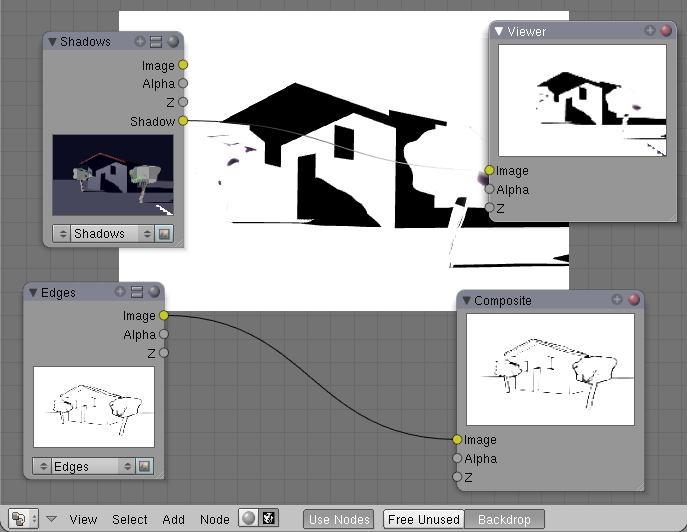
In the node editor, we add a new input render layer, we choose the render layer shadows and we can see another output for this node called shadow. If you connect it to the viewer, you should have something like that:
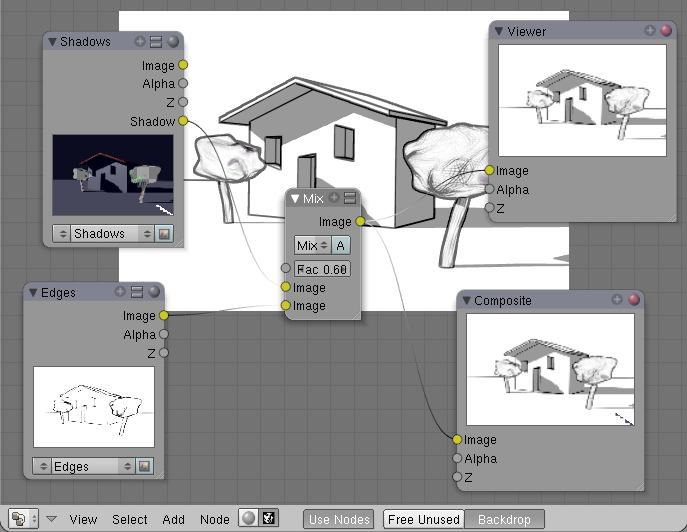
Now we are going to mix the two render layers with a mix node ( Spacebar,Add, Color, Mix). This node has two yellow inputs for our two render layers and one output we are going to connect to both viewer and composite node. The default settings are Mix and Fac=0.5, which are convenient here. You can try other settings (if you know The Gimp or the other one, you will understand easily how it works). So at the end, we have something like that:

Conclusion
This is the end. But you can continue with my other tutorial to see how to have this type of render:
